In this hour long FREE webinar the experts at Digital Silver Imaging will answer your questions about inkjet printing. This webinar is for anyone who wants to make fine art inkjet/giclée prints with a lab or on their own inkjet printer. During this open Q&A webinar we will be available to answer your questions about printing paper, inkjet printers, archival issues, monitors, calibration, presentation considerations and anything else inkjet print related.
Special – 25% Off + Free Shipping on your Direct-to-Print Print Order
First 25 customers only! Offer expires this Sunday 10/13/24
When ordering use promo code: ATE25
ORDER NOW
Direct-to-Print orders only, discount on prints only, does not apply to Custom Print orders. Free shipping in the continental US only.
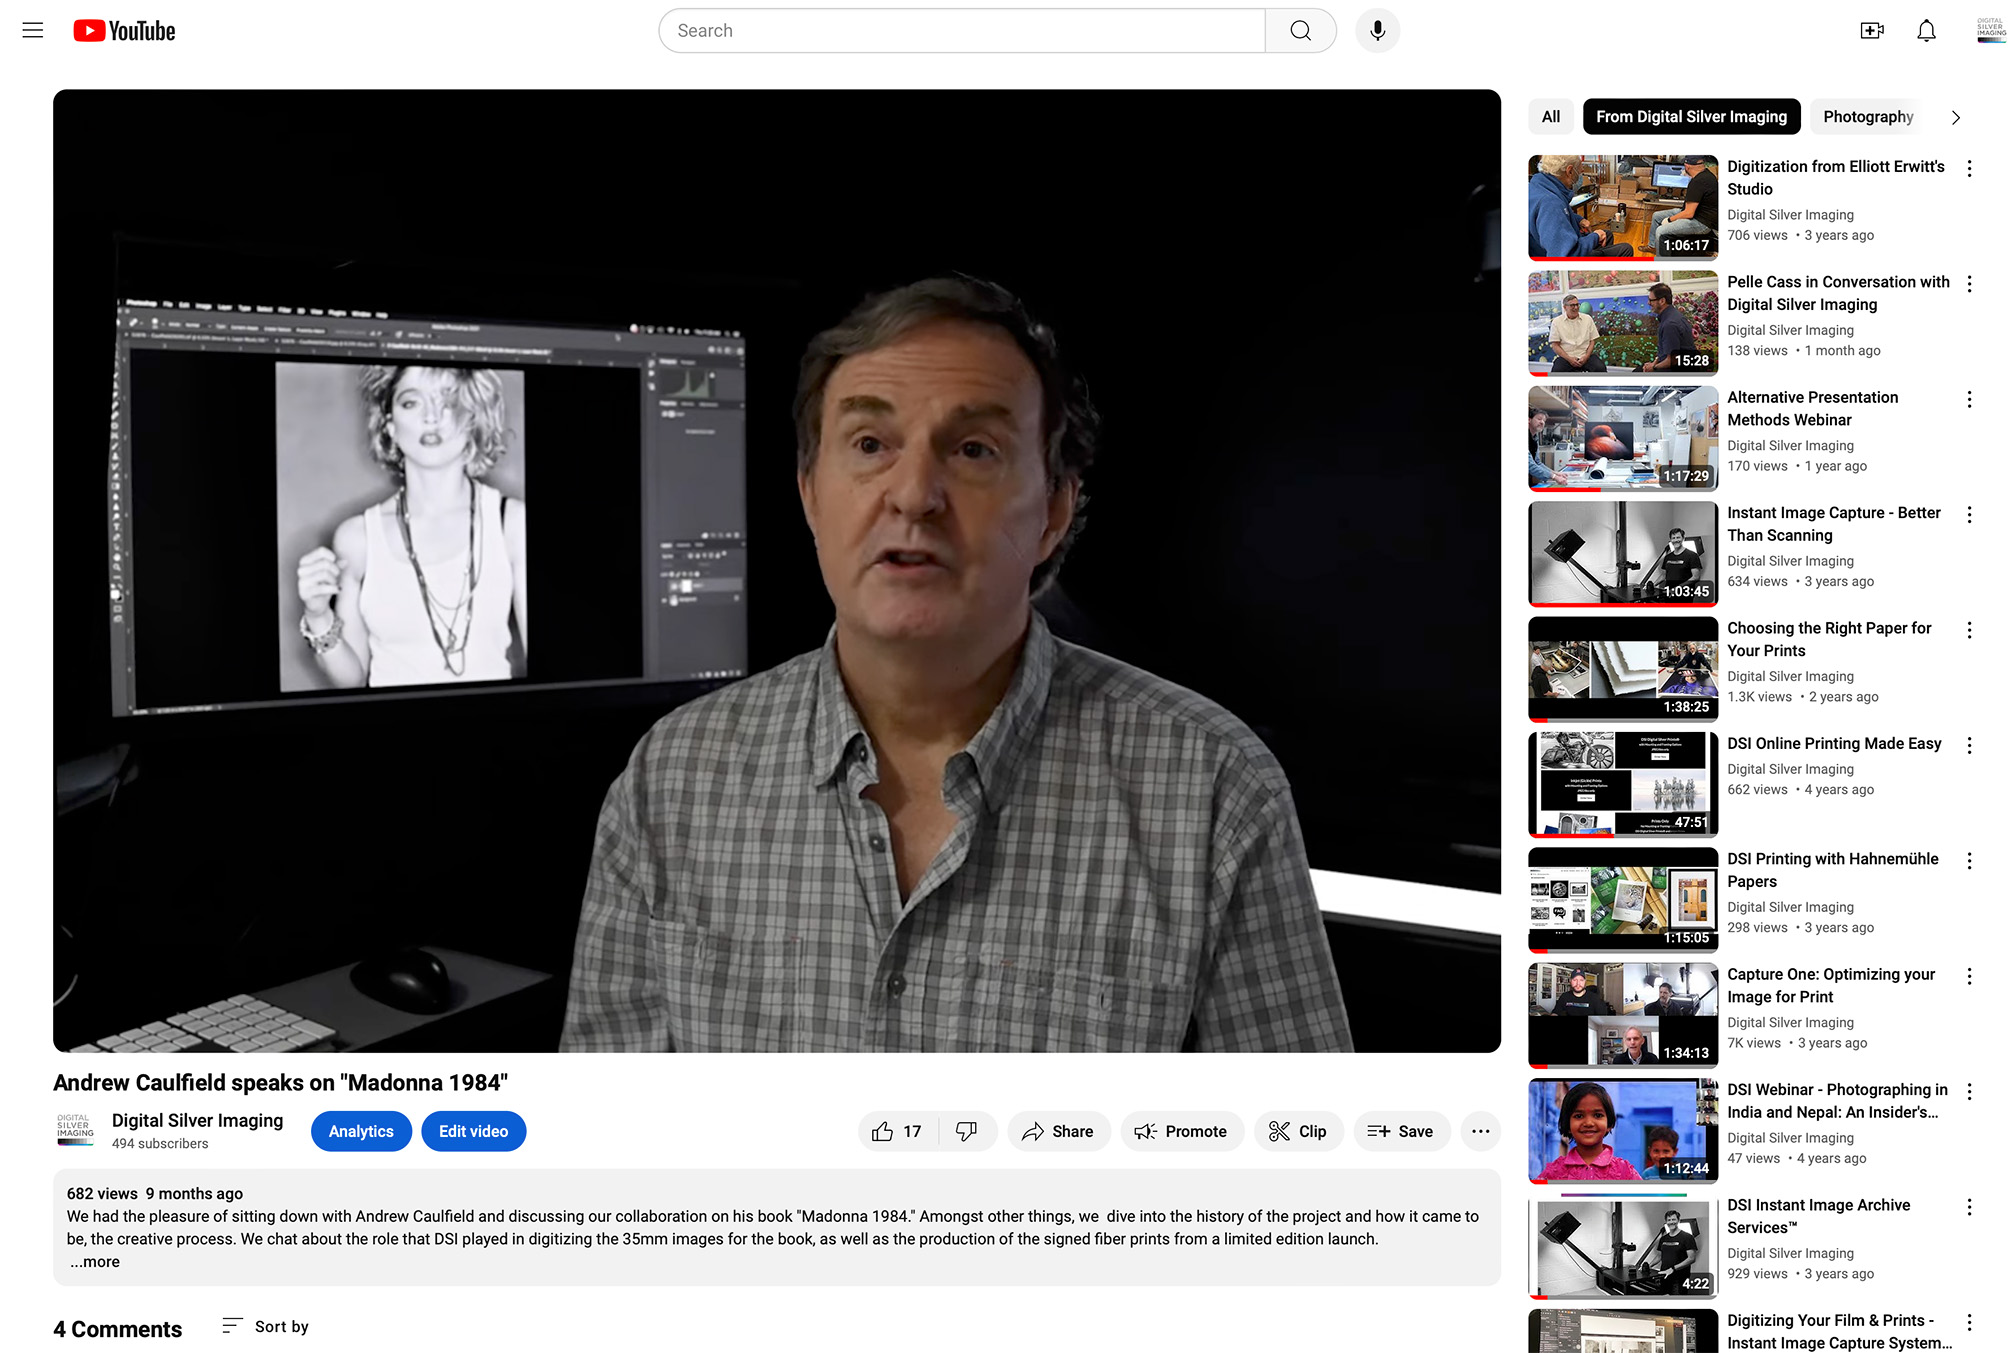
Watch the 10/10/24 Webinar
Resources
Print Sample Promotion (Try 3 papers or our 2 DSI Digital Silver Print® papers)
The Making of a DSI Digital Silver Print® (True silver gelatin B&W print)
Monitor settings (standard photo industry settings): D65 / 100-120 Candelas / Gamma 2.2 (If you are printing with DSI we recommend 100 Candelas)
Calibrite Monitor Calibration Device – Display 123 Calibrite Monitor Calibration Device – Display SL
Choosing the Right Paper Webinar
Direct-to-Print Ordering Tutorial
Print Permanence Chart (Photo Prints Compared) How Long will My Prints Last
Super Resolution in Adobe Photoshop