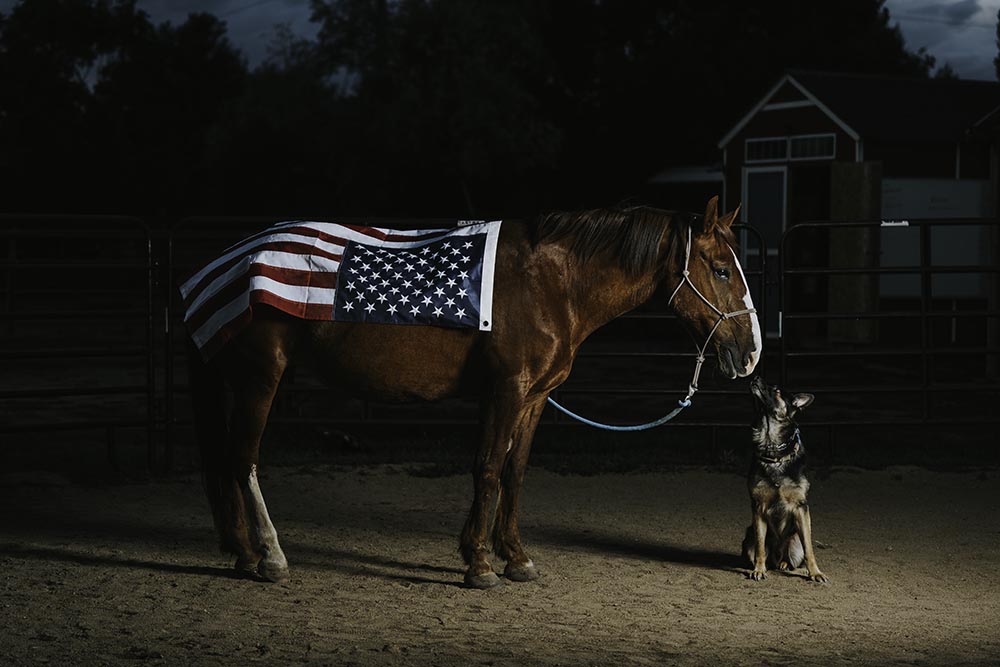
Project Title: Santos
Instagram – @righteye_media
Digital Silver imaging is proud to support Through Their Lens – Personal Projects by Veterans, an exhibition and ongoing photographic education initiative by the Colorado Photographic Art Center in Denver.
This program provides six months of advanced photographic education to participants free of charge. Since the program launched in 2017, 60 local Veterans have graduated.
Starting January 13th, 2024 come see the largest showing of Veterans’ photography CPAC has ever presented, including photographs by 10 artists in the current class and 17 alumni. You can meet exhibiting artists at a free Opening Reception Saturday 1/13, 5 – 8 PM. Free and open to the Public.

Project Title: Saving Ukraine: Medics of the Zero Line
Instagram: @robertgrimmerphoto
Launched in August 2017, the Colorado Photographic Arts Center’s annual Veterans Workshop Series gives local military Veterans with a passion for photography access to advanced photographic education free of charge. Since we and our partners launched the program seven years ago, 60 local Veterans have graduated.
Over the past six months, participants learned to refine technical skills, hone ideas into a body of work, create a portfolio, and write about their artistic practice. For the first time, Veterans attended the program in CPAC’s new facility at 1200 Lincoln Street and enjoyed the benefits of learning in a dedicated, state-of-the-art classroom. Their final projects will be shown to the community through an exhibition from January 12 – February 17, 2024.
Each artist was asked to consider a personal project and to explore a narrative that goes beyond a single frame. The result is a broad range of subject matter, because each project is a deeply personal expression of the individual. For example, Cherie Sutton’s layered self-portraits explore her experience with aging combined with her multifaceted personality and lifestyle. Jason Alfaro’s portrait series of his friend Santos, a former Marine and Green Beret, underscores the transformative power of relationships, whether with the land, animals, or one another.
As a mentor to the artists throughout this rigorous program, I have seen tremendous growth and development of each artist’s project. It has been an honor to work closely with them, hear their stories, and try to see the world through their eyes.
– Samantha Johnston
Executive Director & Curator, Colorado Photographic Arts Center
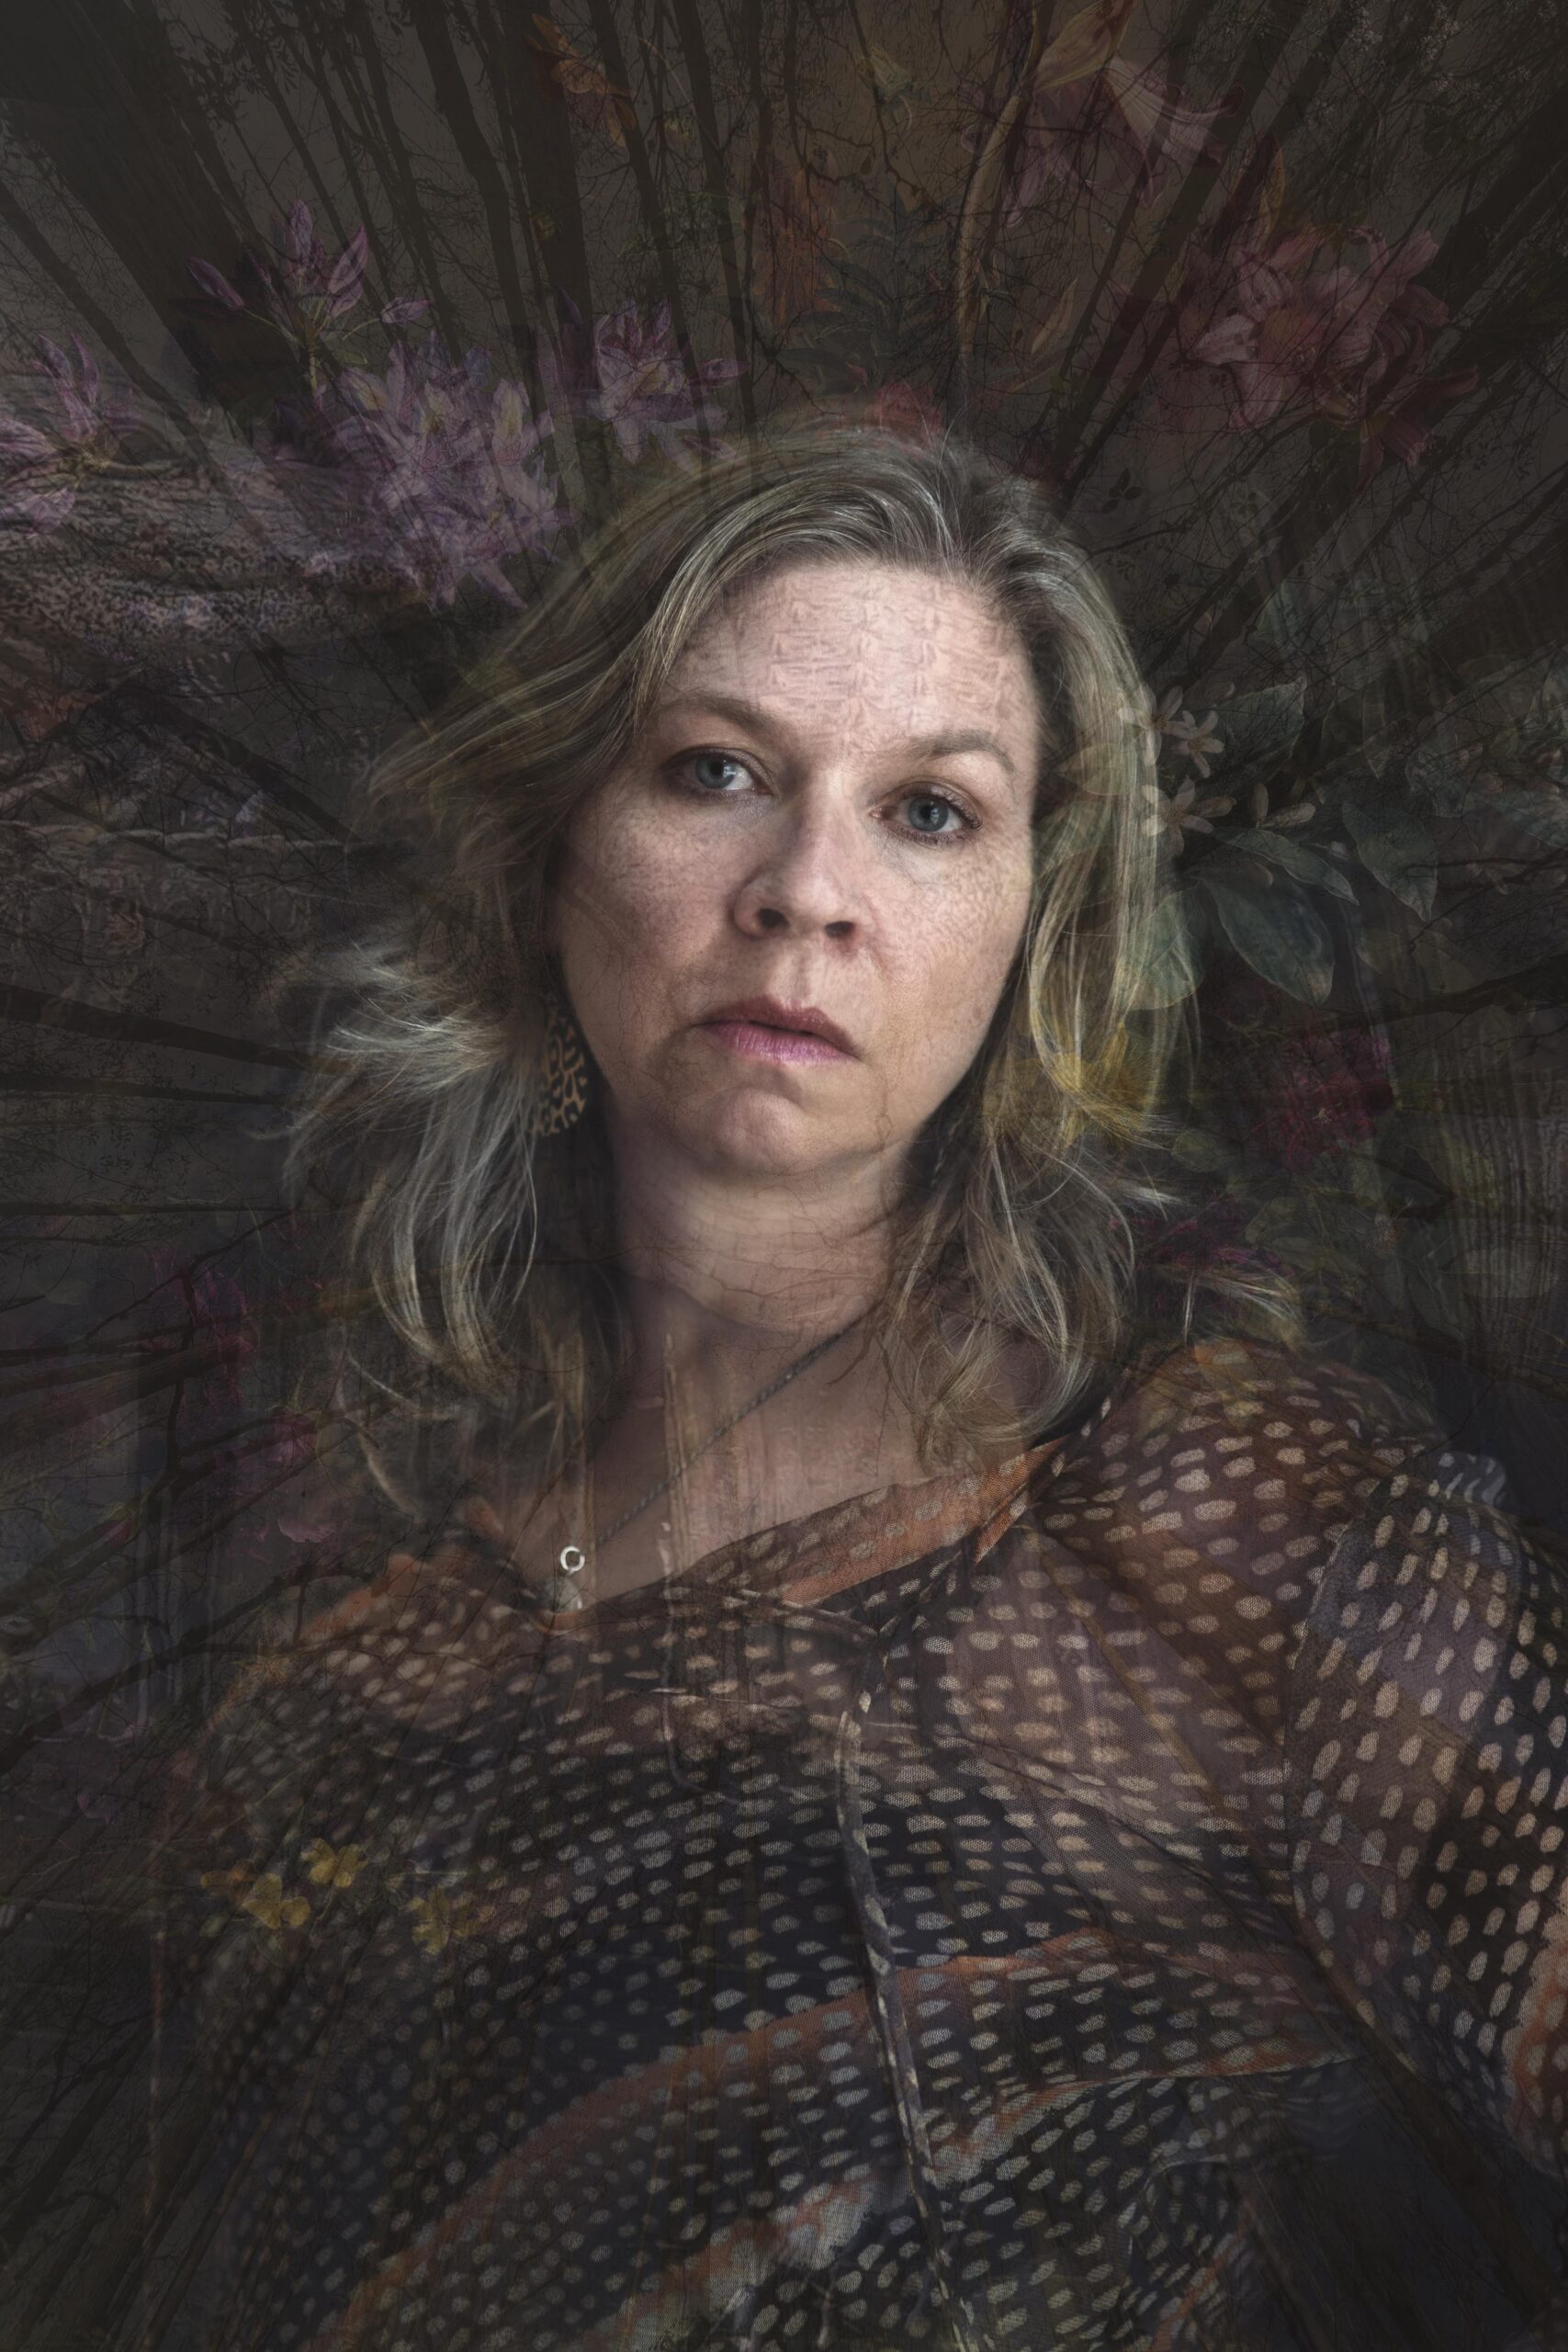
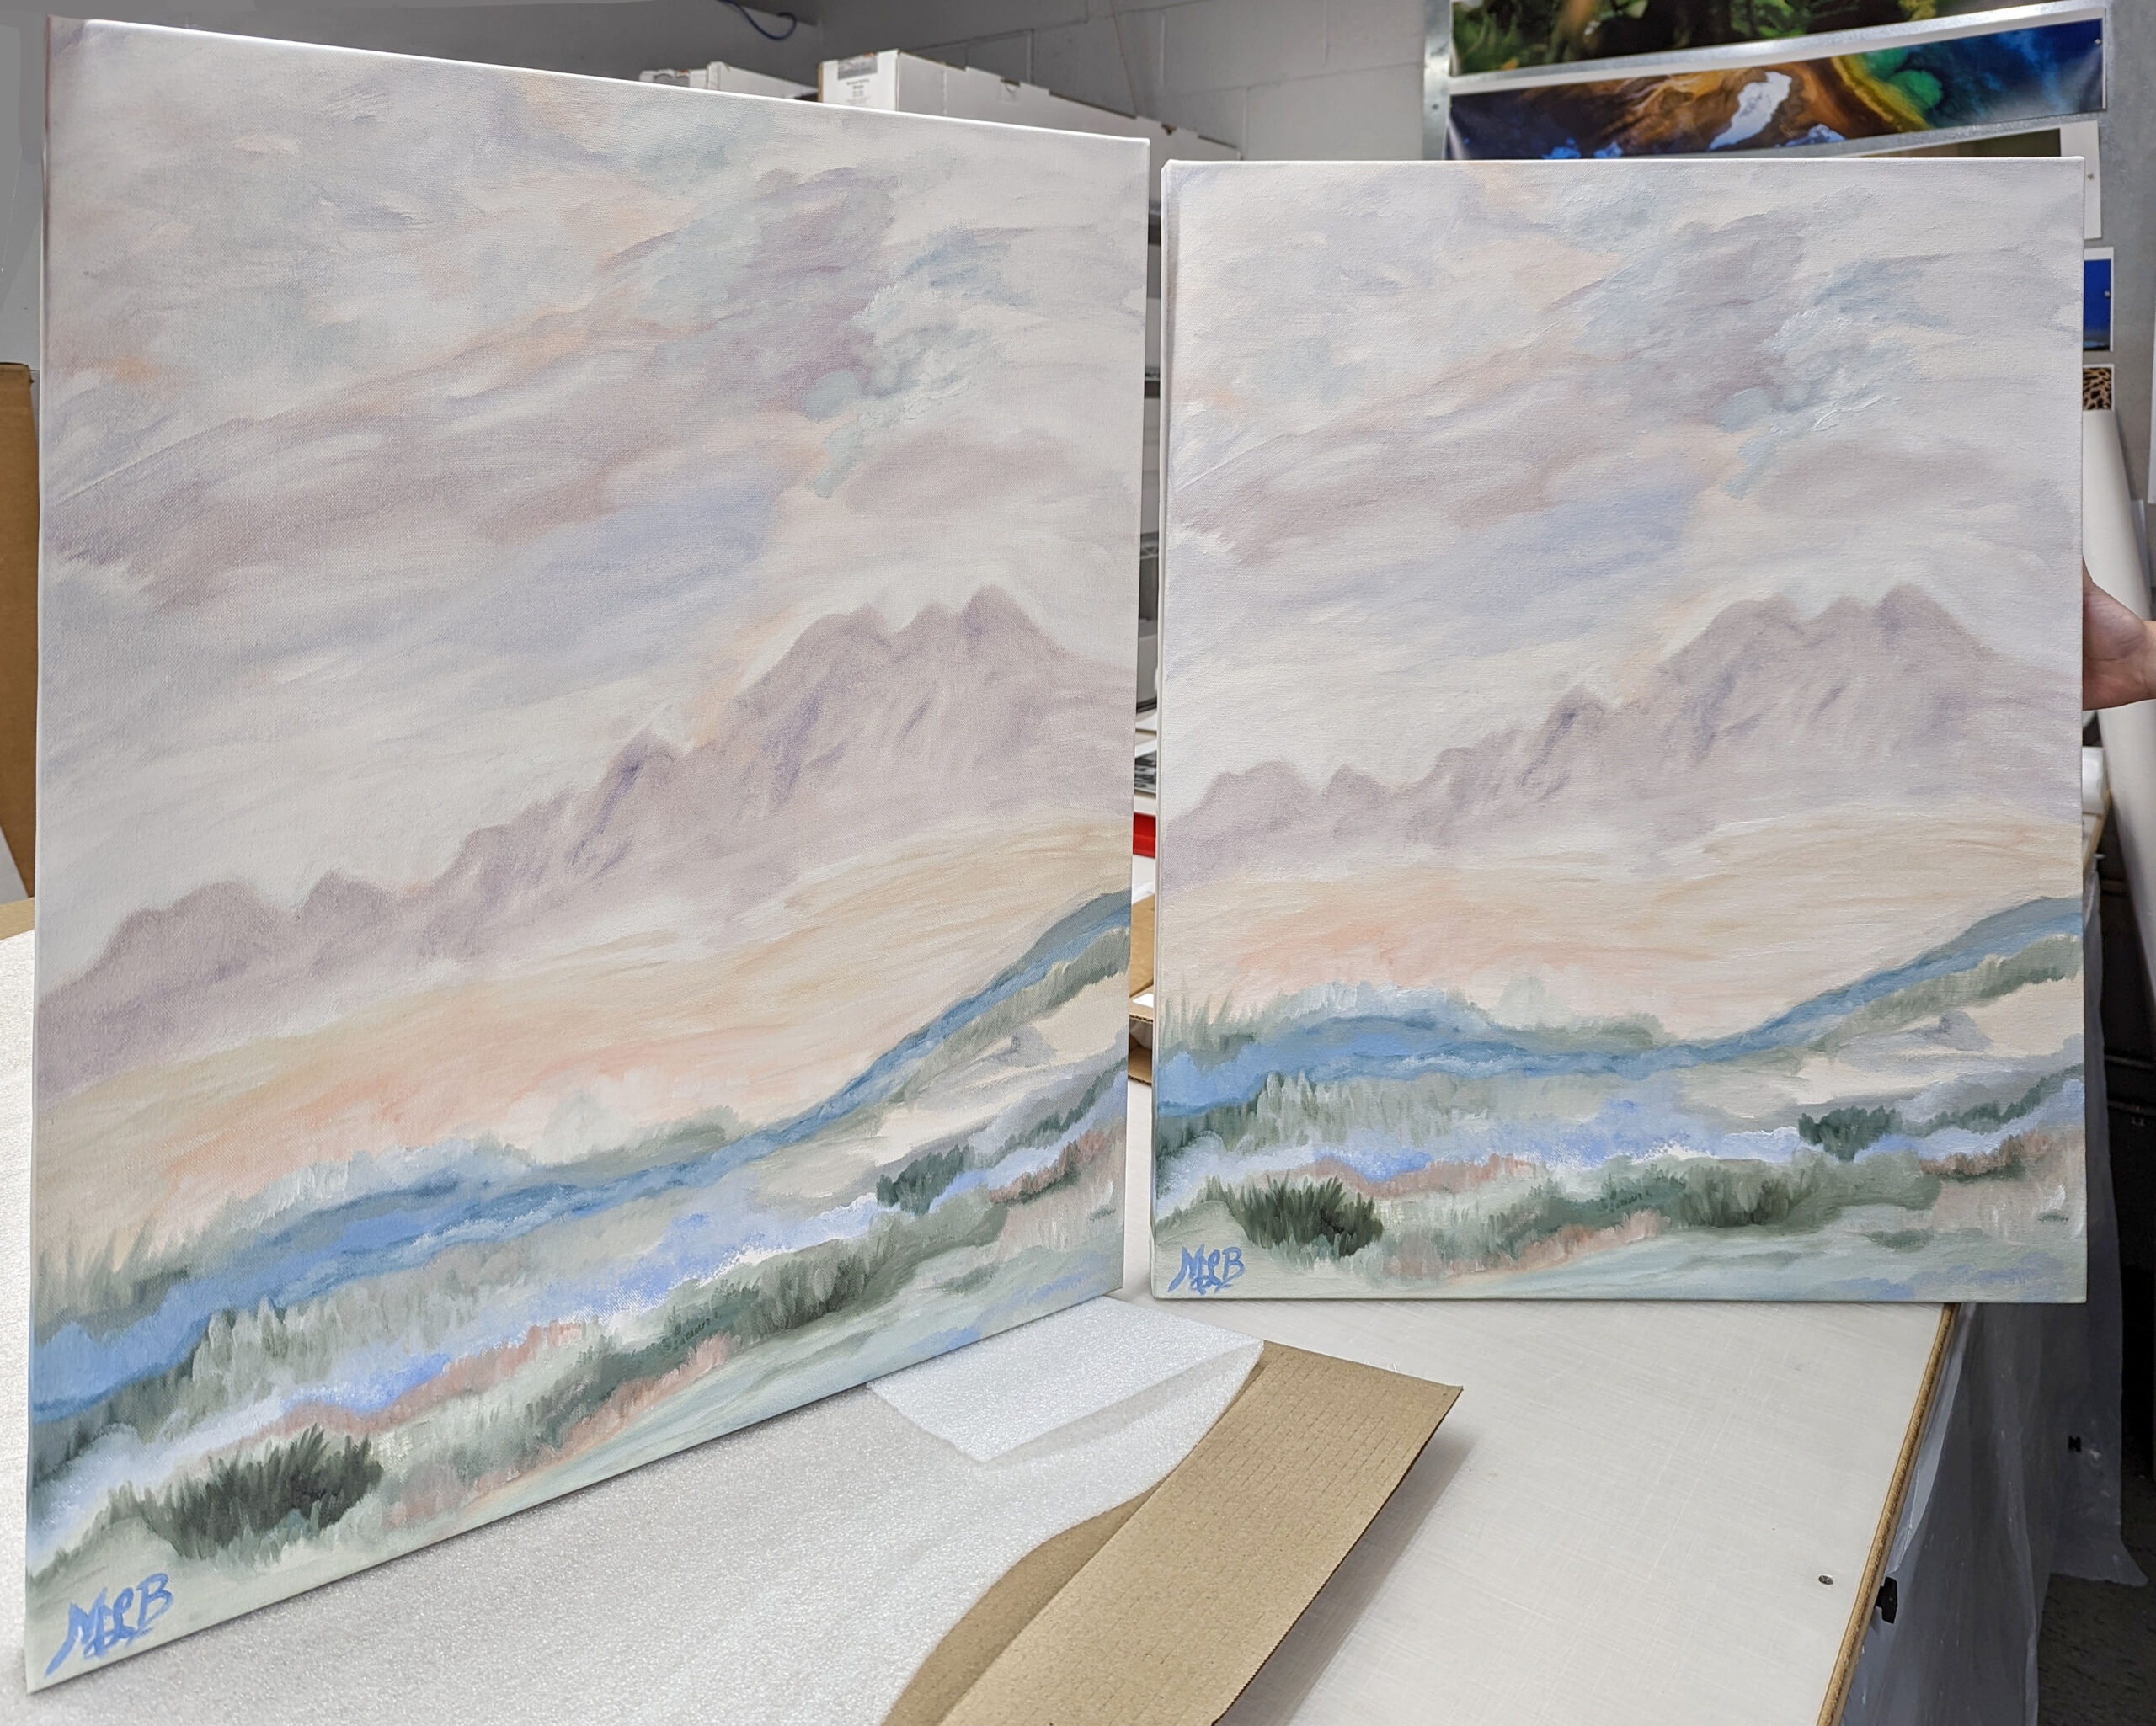
Project Title: Fleeting Beauty
Facebook: Cherie_Sutton_Photography